![]()
![]()
|
|
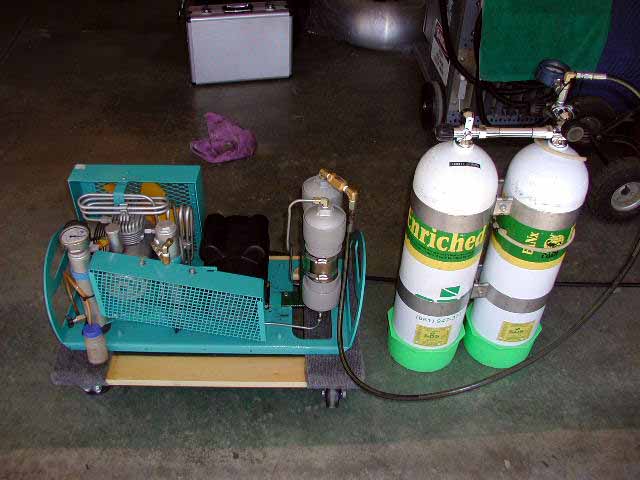
Here is my modified Max-Air 35 SCUBA compressor with additional filtering for super clean and dry air (used in gas blending).
Modifications
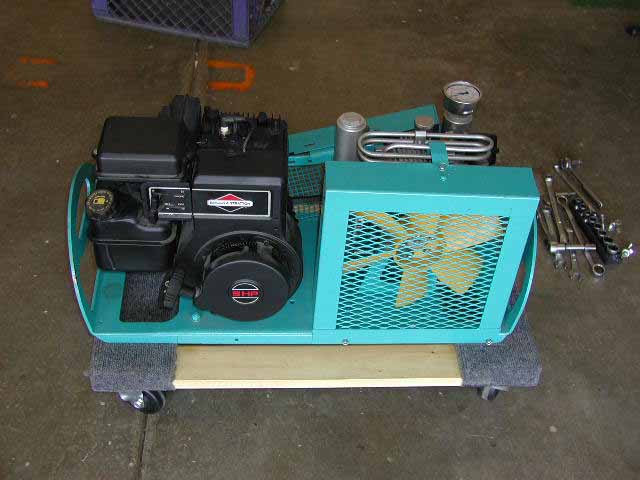
I started with the purchase of a rebuilt Max-Air 35 compressor
with a gasoline engine, water separator, and single filter stage.
First step in the mod was to strip the unit down and pull the gas engine. This was a given for a number of reasons. First, the SCREAMING gas engine drove me crazy while pumping tanks. Second, switching to electric power greatly reduces the possibility of ingesting Carbon Monoxide (CO) into the system (and ultimately into me). Third, it provided room for my homemade hyper-air filter stacks.
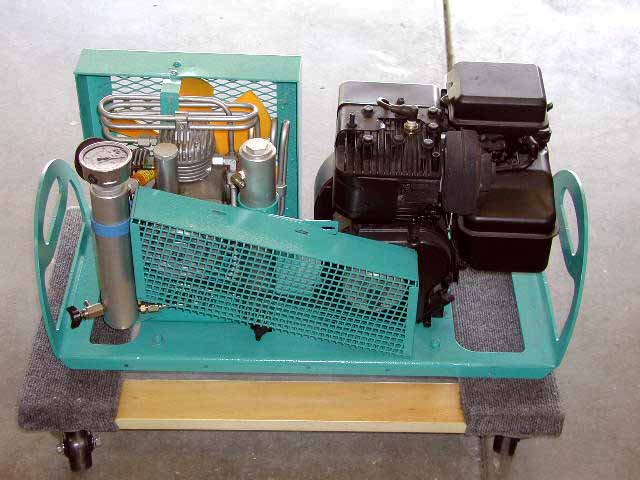
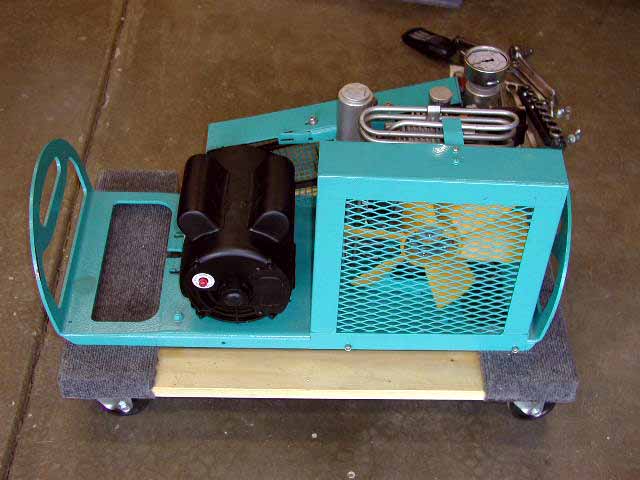
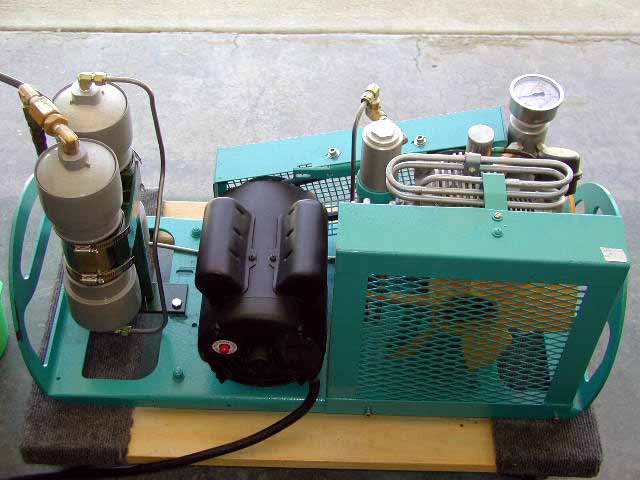
Here it is with the electric motor installed. I went with a cheep Chinese 5-hp motor that I've had good luck with in the past. A good 5-hp motor will draw 22-amps at 220vac so one claiming 5-hp but drawing less current is creative marketing. Only time will tell if this motor was the correct decision. Note-Make sure to use an internally cooled motor! I also incorporated an adjustable sheave (pulley) so I could adjust the load on the motor if necessary. The sheave was purchased from McMaster-Carr (p/n 6205K132). There is a good on-line calculator for determining pulley sizes at pulley-belt-calc
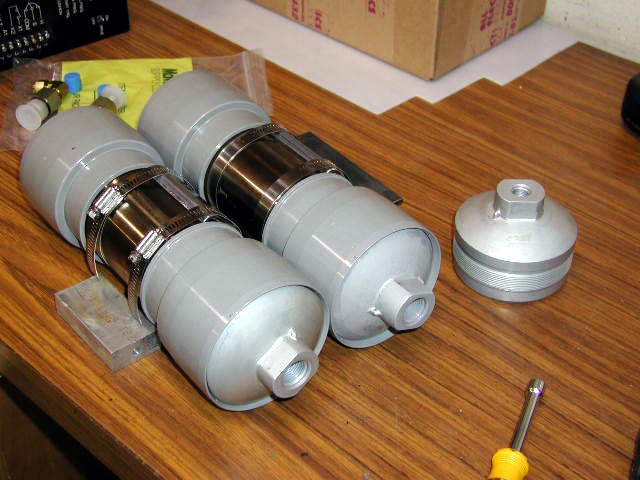
The housings for the hand-packed hyper-filters started life as hydraulic accumulators with an internal capacity of 35ci each. The size was chosen so I would be able to repack the two canisters with a little less than two quarts of media (keeping the cost under $25.00 per refill). The idea to use the accumulators came from "The Oxygen Hackers Companion" by Airspeed Press.
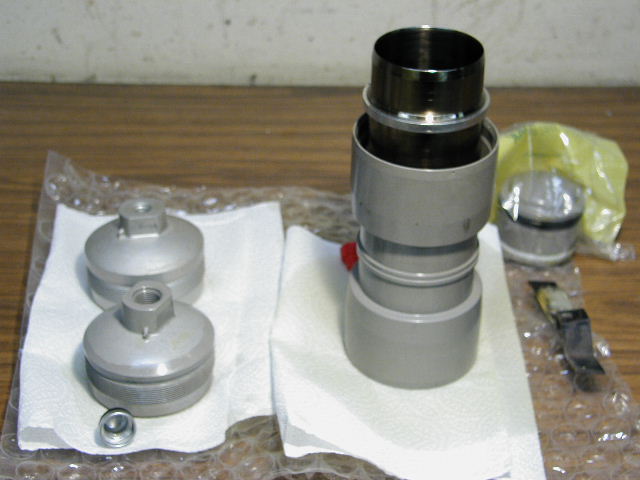
First I stripped out the piston then I washed, washed, and re-washed them until they were squeaky clean. Simple Green and really hot water makes the job easier and works wonders on everything except your hands.
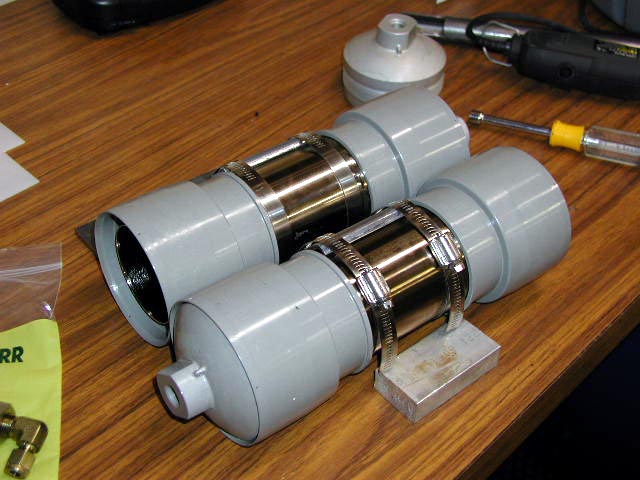
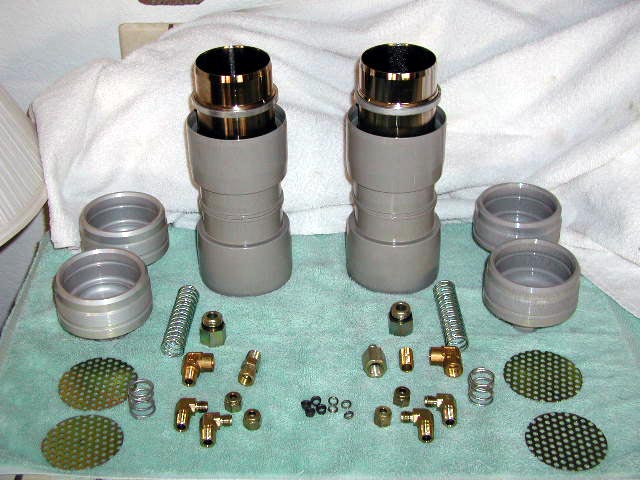
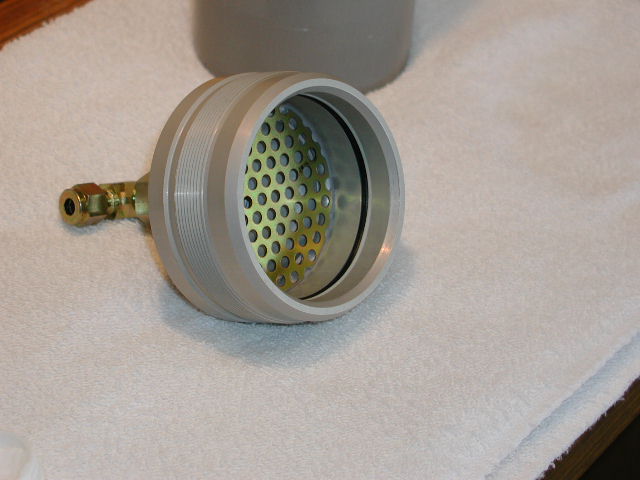
Here is a picture of all the parts except for the filter pads and bulk chemicals (desiccant and activated carbon). The screens you see in the photos are slightly different sizes. The one for the bottom fits inside the end cap but doesn't slide inside the body. The one on the top fits inside the body and has a spring above it to keep pressure on the filter media. Here's how I assembled each filter (Starting from the bottom which is the input).
Note: Adjust qquantities down so you don't overfill but shoot for a 60:40 ratio in the first filter and a 40:60 ratio in the second filter. I figured the media will last me 1-2 years without any problem and then it's only $25.00 to re-pack them (My media came from www.scubacompressor.com)
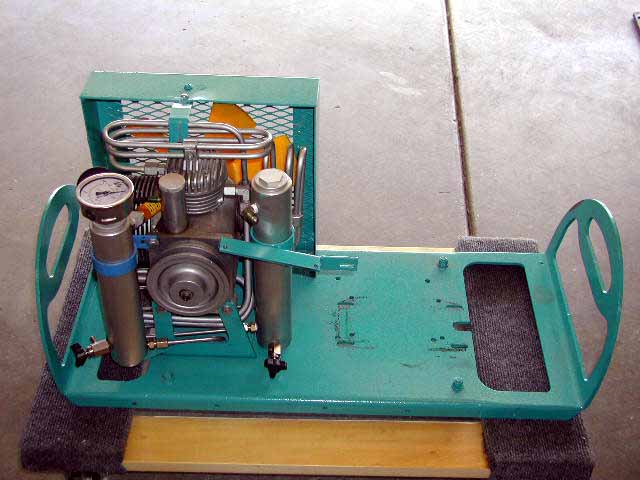
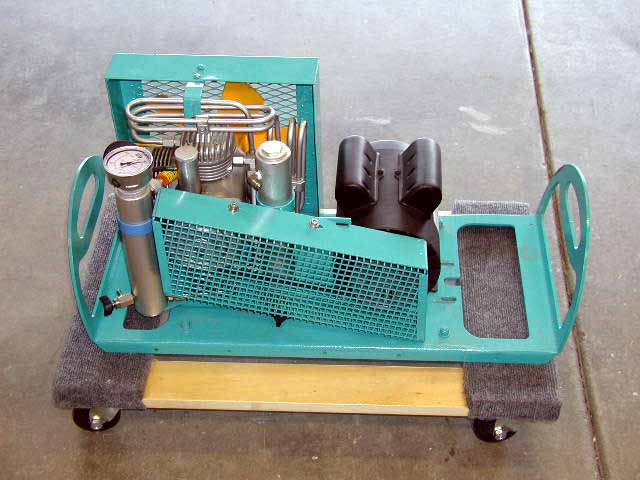
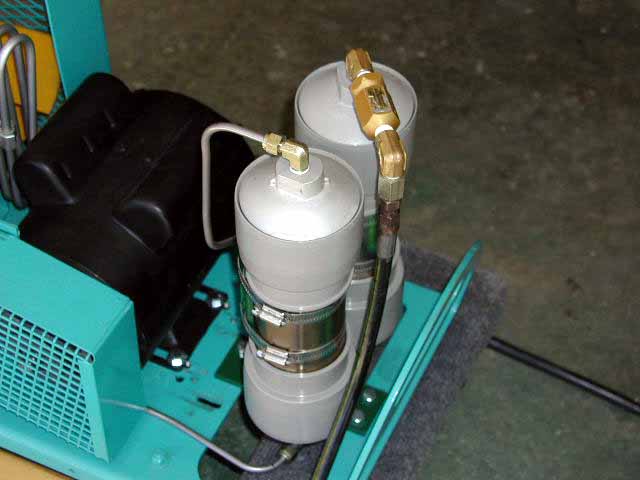
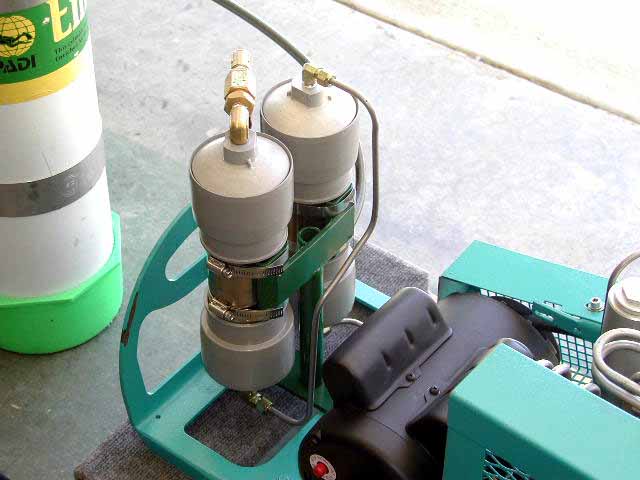
Here the filters have been filled, mounted to the compressor and plumbed. I'm using Vaporshell for a desiccant and Activated Carbon for a filter. The first filter is 60/40 (desiccant/filter) and the second filter is 40/60. Felt filter pads were cut to lay on the hand made mesh screens and to separate the media. I also added a spring on the top to keep some pressure on the contents.
What looks like a plumbing kludge on the outlet of the original filter is actually there for a reason. This is a convenient location for me to disconnect the hyper-filters, and attach the fill whip, when I just need clean "Grade E" air.
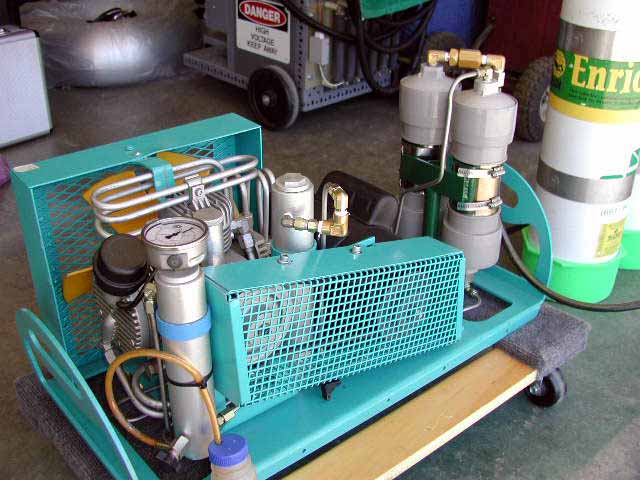
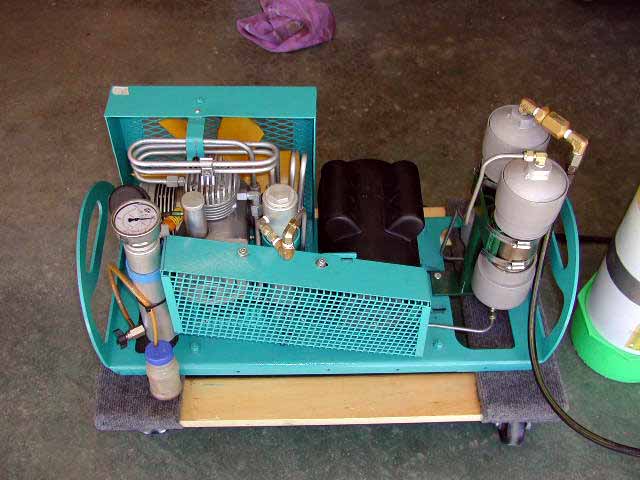
The final unit from a number of angels. I've also added a Priority Valve which keeps 1800psi on the filters allowing them to function better. One modification I plan to make is the addition of drains in the lines below each filter canister. |
|
Questions and comments Copyright © 1997,2006 Brian D. Basura This site was last updated 04/02/06 |